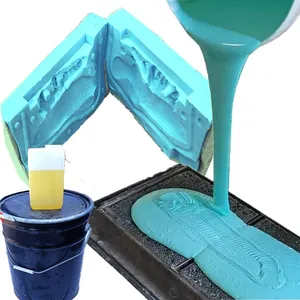
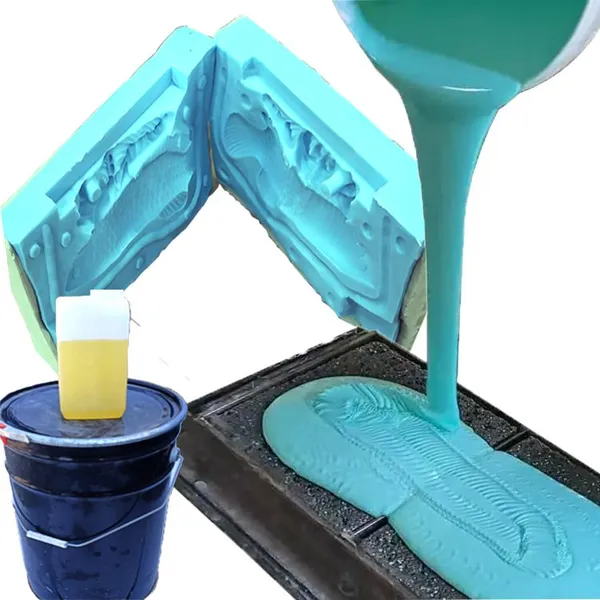
AB Liquid Silicone Rubber DIY Cement Flower Pot Mold Set: Including Detailed Tutorial


Related Products
-
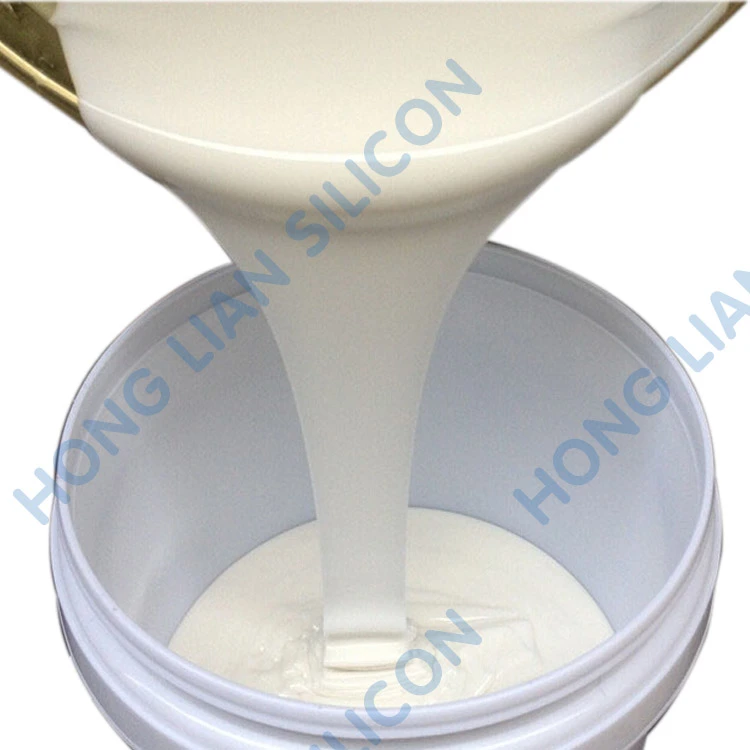
 Platinum-cured Liquid Silicone Rubber is Used for Making Synthetic Silicone Skins.NegotiableMOQ: 50 Kilograms
 -
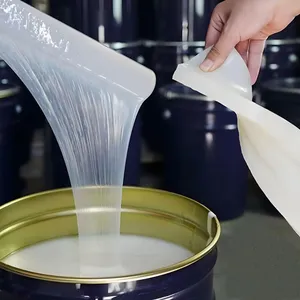
Platinum Cured Silicone Rubber, Resin Handicraft Mold Adhesive Low Viscosity and Easy to Pour for Detailed ReplicationNegotiableMOQ: 50 Kilograms
-
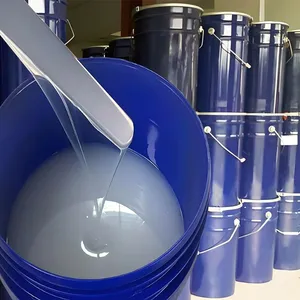
Diy Resin Mold Special Platinum-cured Silicone Rubber, Low Shrinkage, no Odor, Moldable Material With Long-lasting Properties.NegotiableMOQ: 50 Kilograms
-
1:1 Two-component Candle Mold Silicone Rubber, Liquid Soft Silicone Rubber, Relief / Embossed Candle High-precision Mold-making Special GlueNegotiableMOQ: 50 Kilograms
-
Special Mold for Candle Casting Silicone Rubber. Two-component Liquid Silicone Rubber. Shore A10-20 Soft Grade. Resistant to Repeated UseNegotiableMOQ: 50 Kilograms
AB Liquid silicone rubber DIY Cement Flower Pot Mold Set: Including Detailed Tutorial
For inquiries about silicone rubber factories, please contact us via WhatsApp: +86 13662816580
Making silicone rubber molds (Key Steps)
1. Handle the master mold
Clean the surface of the master mold to remove dust and oil stains. If there are pores in the master mold (such as wood or clay), fill them with putty and then sand them smooth.
Apply the mold release agent evenly on the surface of the master mold (thin and even), especially carefully covering the complex patterns to prevent the silicone rubber from sticking together.
Fixed master mold: Place the master mold on a flat tray. If the bottom of the master mold is uneven, it can be fixed with clay or plasticine to ensure it does not shake during pouring.
2. Mix liquid silicone rubber
Pour components A and B into A clean container in the proportion specified in the product instructions (usually A:B=10:1 or 5:1, and precise weighing is necessary).
Stirring: Stir slowly in the same direction for 3 to 5 minutes to ensure there are no lumps or streaks (uneven stirring can lead to local non-curing). Be careful to avoid vigorous stirring to prevent excessive bubbles.
3. Exhaust bubbles
If a vacuum machine is available: Put the mixed silicone rubber into the vacuum machine and evacuate for 2-3 minutes until all the bubbles completely disappear (bubbles can cause holes on the mold surface, affecting the cement molding).
Without a vacuum machine: Let it stand for 5 minutes, then prick the surface air bubbles with a toothpick or gently shake the container to expel the air bubbles.
4. Pour silicone rubber
Slowly pour the silicone rubber along the edge of the master mold, first covering the bottom and details of the master mold, and then gradually fill it to 1-2cm above the top of the master mold (make sure it completely covers the master mold, and the mold thickness should be at least 0.5cm; if it is too thin, it is prone to deformation).
If the mother mold is tall or has a complex structure, it can be poured in 2 to 3 steps: cover the surface first, and then pour the remaining part after 2 hours of curing to avoid the details being washed away by the silicone.
5. Curing and shaping
Let it stand at room temperature (around 25℃) for curing. The curing time depends on the product instructions (usually 4 to 8 hours, and may be extended if the temperature is lower). After curing, press the surface with your hand. If it does not stick to your hand and has elasticity, the curing is complete.
6. Demolding is carried out to obtain the silicone rubber mold
Gently lift the silicone rubber along the edge of the mold and use its elasticity to slowly peel off the master mold. (If the master mold has protrusions or deep lines, a small amount of talcum powder can be injected into the gap first to assist in demolding.)
Inspect the mold: If there are tiny air bubbles or holes, they can be repaired with soil. The inner side of the mold is the shape of the outer surface of the flowerpot.

Send Inquiry to This Supplier

You May Also Like
-
Resin Models Are Made of High-hardness Liquid AB Mold Silicone RubberUS$ 5MOQ: 1 Kilogram
-
Two-component Skin-colored Liquid Silicone Rubber AB Glue Material for Film and Television Special Effects Faux Leather ModelsUS$ 5MOQ: 1 Kilogram
-
Medical-grade Simulated Human Body Silicone Rubber AB Liquid Adhesive is a Special Material for Surgical Suture Training ModelsUS$ 5MOQ: 1 Kilogram
-
Low Hardness, Easy to Demold AB Silicone Candle Mold Making Material, Fine Texture Precisely Replicates SiliconeUS$ 5MOQ: 1 Kilogram
-
DIY Candle Prototype Mold AB Glue Home-made Creative Candle Mold Liquid Silicone RubberUS$ 5MOQ: 1 Kilogram
-
Scented Gypsum Mold Silicone, 1:1 Addition-cured Soft Rubber, Special Silicone Rubber for Handicraft Mold MakingUS$ 5MOQ: 1 Kilogram
-
Food-grade Two-component Liquid Silicone Rubber is a Special Mold Casting Rubber for Catering Display Simulation Dishes That Can be ReusedUS$ 5MOQ: 1 Kilogram
-
The Simulation Dish Model Mold is Made of FDA-certified Food-grade Low-viscosity and Easy-to-defoaming Silicone Rubber Mold MaterialUS$ 5MOQ: 1 Kilogram
-
Candle Mold Silicone Rubber for Candle Making | High Precision Liquid Silicone,custom ColorsUS$ 5MOQ: 1 Kilogram
-
China Factory Platinum Healing Liquid Silicone Rubber 1:1 Low Viscosity Food GradeUS$ 4 - 5MOQ: 1 Kilogram