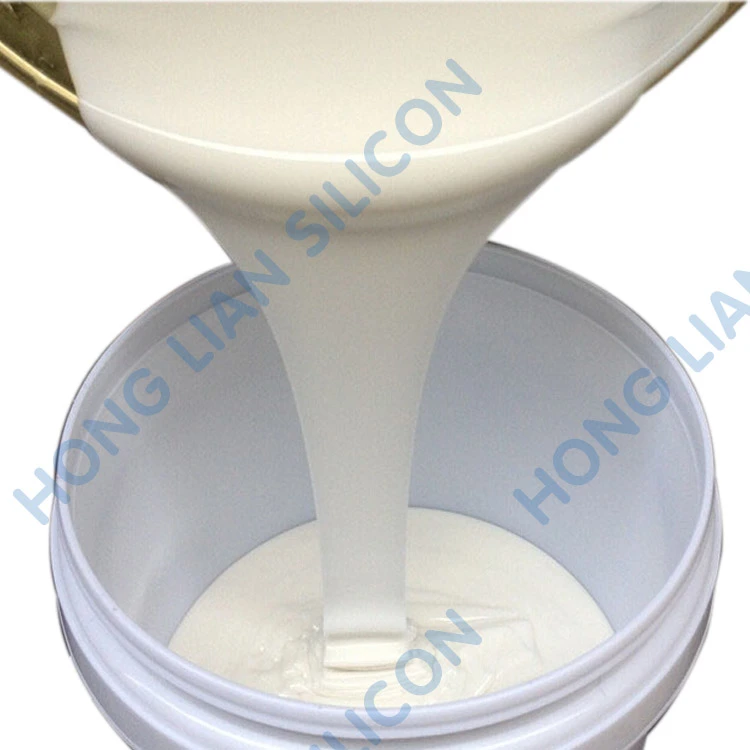
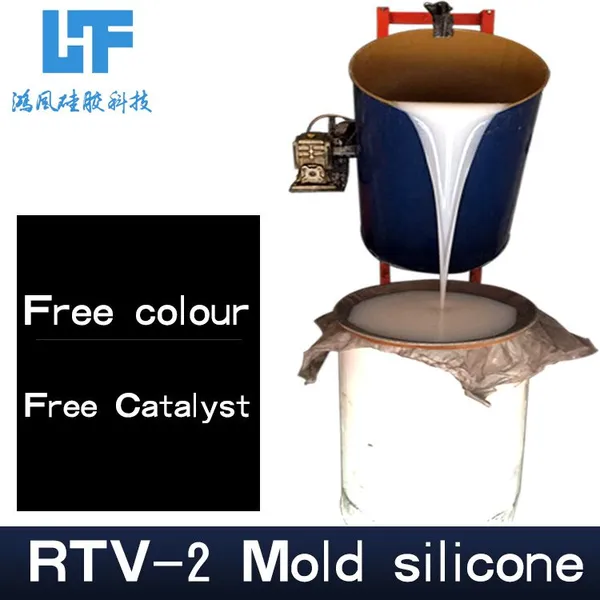
DIY Candle Prototype Mold AB Glue Home-made Creative Candle Mold Liquid Silicone Rubber


Related Products
-
 Scented Gypsum Mold Silicone, 1:1 Addition-cured Soft Rubber, Special Silicone Rubber for Handicraft Mold MakingUS$ 5MOQ: 1 Kilogram
 -
Food-grade Two-component Liquid Silicone Rubber is a Special Mold Casting Rubber for Catering Display Simulation Dishes That Can be ReusedUS$ 5MOQ: 1 Kilogram
-
The Simulation Dish Model Mold is Made of FDA-certified Food-grade Low-viscosity and Easy-to-defoaming Silicone Rubber Mold MaterialUS$ 5MOQ: 1 Kilogram
-
Candle Mold Silicone Rubber for Candle Making | High Precision Liquid Silicone,custom ColorsUS$ 5MOQ: 1 Kilogram
-
China Factory Platinum Healing Liquid Silicone Rubber 1:1 Low Viscosity Food GradeUS$ 4 - 5MOQ: 1 Kilogram
DIY candle prototype mold AB glue home-made creative candle mold liquid silicone rubber To consult the factory, Add WhatsApp: 86 13662816580
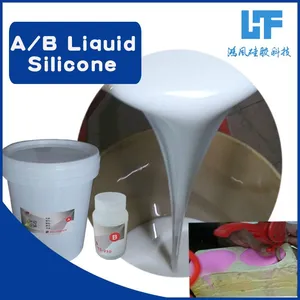
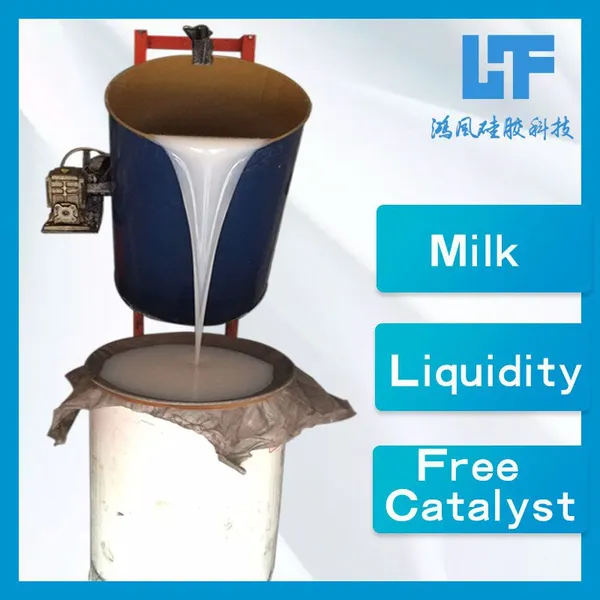
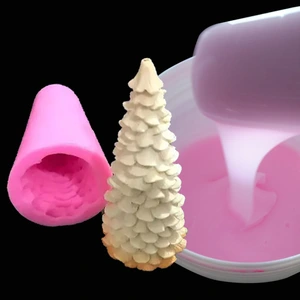
Prepare AB liquid silicone rubber
Precise weighing: According to the proportion marked by the manufacturer (such as A weight ratio of 1:1), weigh A glue and B glue respectively into clean containers. Volume ratio estimation is strictly prohibited, as proportion errors may cause the silicone to fail to cure or become sticky after curing.
Stirring and mixing: Pour B glue into A glue and stir rapidly in one direction for 3 to 5 minutes to ensure that the two glues are fully integrated. During stirring, try to minimize air bubbles (stirring too slowly or unevenly will produce a large number of air bubbles).
Defoaming treatment (optional) : If the surface of the mold is required to be free of bubbles, the well-mixed silicone can be left to stand for 5 to 10 minutes, or defoaming can be done using a vacuum machine (for small batches of manual production, standing is sufficient).
Pouring/brush mold forming
Pouring method (suitable for simple prototypes) : Slowly pour the defoaming silicone into the sealed box/mold frame containing the prototype, and slowly inject from one side of the prototype to allow the silicone to naturally wrap around the prototype, avoiding direct pouring to generate bubbles. The silicone liquid level should be 1 to 2cm higher than the highest point of the prototype.
Brush mold method (suitable for complex and large prototypes) : First, dip a brush in silicone and evenly brush it on the surface of the prototype, especially on the detailed patterns, to ensure complete coverage of the silicone. After brushing the first layer, you can lay a layer of glass fiber cloth to enhance the toughness of the mold, then brush the second layer of silicone. Repeat this process 2 to 3 times, and finally fill the mold frame with silicone.
Curing and demolding
Let it stand at room temperature for curing. The curing time depends on the type of silicone, usually 4 to 12 hours (the higher the temperature, the faster the curing. Avoid high-temperature baking to prevent deformation of the silicone).
After curing, first remove the mold frame, then use a utility knife to cut the silicone along the parting line (if made by parting, simply separate it), take out the prototype, and obtain the silicone candle mold.

Send Inquiry to This Supplier

You May Also Like
-
High Hardness of Translucent Silicone Rubber Makes Food Grade Mold MaterialUS$ 4 - 5MOQ: 1 Kilogram
-
High Temperature AB Liquid Mold Silicone Rubber to Make Chocolate Model Raw MaterialsUS$ 4 - 5MOQ: 1 Kilogram
-
High Hardness Mold Silicone Rubber Translucent AB Glue ManufacturersUS$ 5 - 6MOQ: 1 Kilogram
-
FDA Food Grade Liquid Silicone Rubber Plant Make Mold Free SampleUS$ 5 - 6MOQ: 1 Kilogram
-
Platinum Vulcanized Silicone Rubber for Making Chocolate Silicone MoldsUS$ 5 - 6MOQ: 1 Kilogram
-
Baking Cake Silicone Mold is Made of Food Grade Liquid Silicone Rubber Raw MaterialsUS$ 5 - 6MOQ: 1 Kilogram
-
Skin Tone Silicone Rubber 1:1 Auto Vulcanization Good Resilience Make RobotUS$ 4 - 5MOQ: 1 Kilogram
-
Production of Adult Products Using Skin Color Silicone Rubber AB Two Components Free SampleUS$ 5 - 6MOQ: 1 Kilogram
-
Translucence High Temperature Resistance Platinum Cure Silicone Rubber FactoryUS$ 5 - 6MOQ: 1 Kilogram
-
FDA Room Temperature Vulcanized Silicone Rubber to Make Chocolate Mold Products Free SampleUS$ 5 - 6MOQ: 1 Kilogram