








 Contact Platform Support
 Help Center
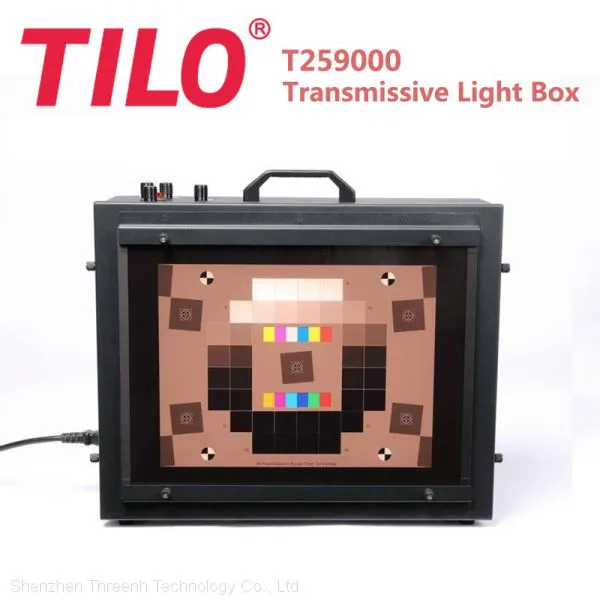
LED Light Box 3nh Uniform Lighting Equipment for Camera Image Performance Testing T259000





Related Products
-
 LED Light Box Provide Stable Uniform Light Source for Camera Color Distortion Evaluation HC5100/HC3100NegotiableMOQ: 1 Piece
 -
TILO T60S 5 Light Sources Booth for Product Color Assessment Upgraded Metal Plate No Light LeakageNegotiableMOQ: 1 Piece
-
TILO P60S 6 Light Sources Color Assessment Cabinet With Upgraded Metal Plate No Light LeakageNegotiableMOQ: 1 Piece
-
TILO CC120-E Large Color Viewing Table for Printing Workshop or Proofing CenterNegotiableMOQ: 1 Piece
-
TILO T90-7 Large Color Viewing Booth for Photography Textile Printing Dyeing Printing PlasticNegotiableMOQ: 1 Piece
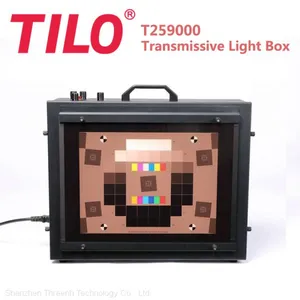
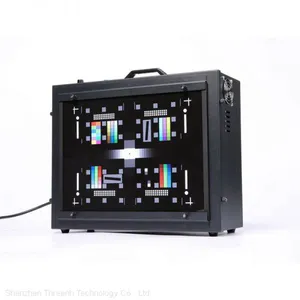
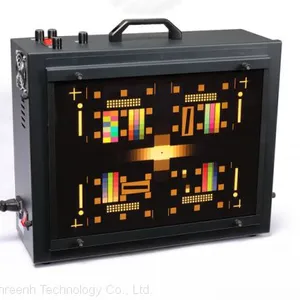
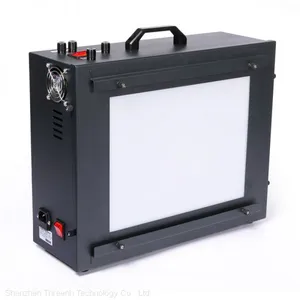
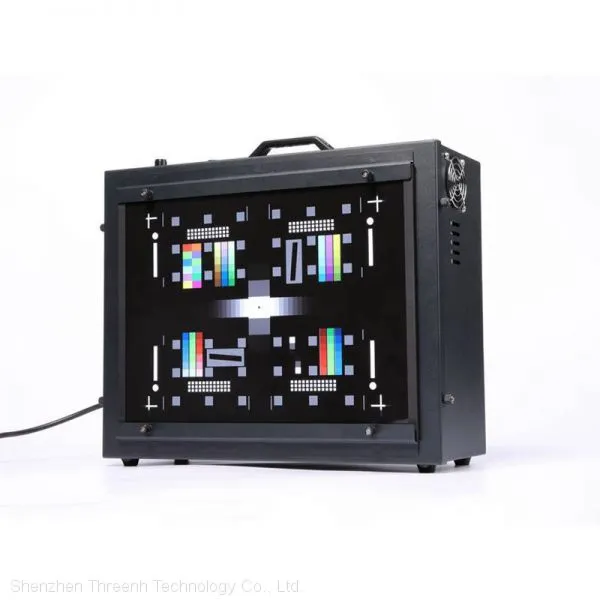
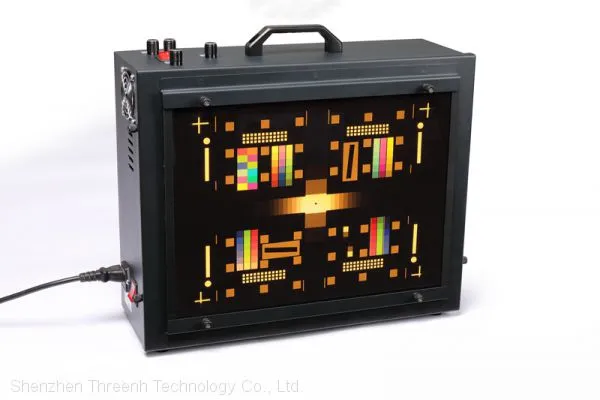
T259000 high illumination/color temperature adjustable transmissive light box is the latest camera test special light box developed by Shenzhen ThreeNH Technology Co., Ltd. This product adopts high power, high illumination, no stroboscopic, long life, stable color temperature LED light source, providing professional lighting environment for camera lens evaluation system.
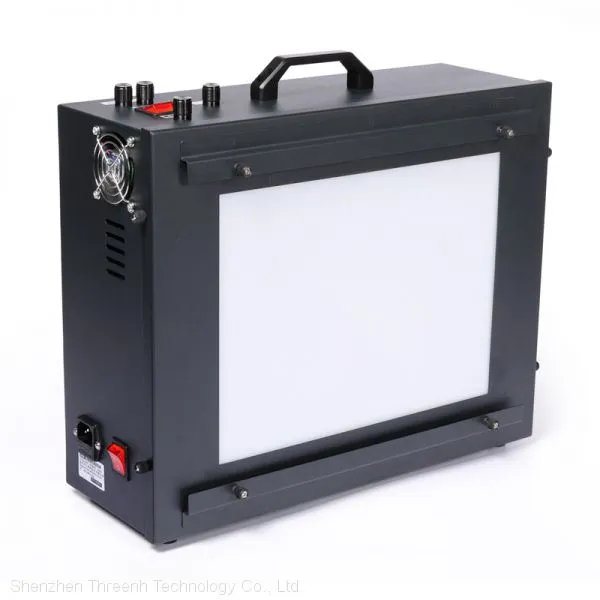
T259000 high illumination/color temperature adjustable transmissive light box mainly consists of: cabinet, handle, test chart slot, transmissive panel, high illumination low illumination shift switch, dimming knobs (high illumination and low illumination knob) , low illumination knobs include: coarse and fine adjustment knobs), test chart fixing screws, power sockets, power switches and other components.
Features
1. Transmittance uniformity > 90%.
2. Color temperature is adjustable,color temperature can be adjusted range: 2300K--9000K
3. Adjustable illumination,dimming range: 0—120000Lux
Dimming is divided into high illumination dimming and low illumination dimming.Low-illumination dimming includes two knobs,which are coarse adjustment&fine adjustment,the dimming is more precise.
4. Light color is stable,no stroboscopic,life is more than 10,000 hours.
Product Specifications
1. Light box dimensions (Figure 2): length 410 * width 145 * height 330mm.
2. Light box transmission surface size:length 290 mm * height 220mm.
3. Test chart slot size:length 360 * width 8 * height 285mm.
4. Use environment: 0-28 °C, relative humidity below 85% (non-condensing).
5. Input voltage: AC110-240V 2.2A 50/60Hz
6. The maximum power consumption is 240W.
7. Net weight: 7.2kg.
Instructions
1. Be sure to connect the power supply that matches this product before powering up.
2. Place the probe of the illuminometer on the transmissive surface of the light box and adjust the brightness of the light box by turning the dimming knob as required .
High illumination dimming: Press the high/low illumination switch to the high illumination end and turn the high illumination dimming knob.
Low illumination dimming: Press the high/low illumination switch to the low illumination end and rotate the coarse and fine adjustment knobs for low illumination dimming.
3. After adjusting to the required illuminance, preheat for 5-10 minutes. After the light color is stable, insert the chart into the light box slot.The chart is in the middle of the transmission surface of the light box, twist the four fastening screws to fix it (as shown in Figure 4) and test it.
Maintenance
1. The free warranty period for the light box is one year.
2. When performing maintenance on the light box, turn off the main power and unplug the power cord.
3. Regularly (recommended 1 month) to clean the light box.If the wall, bottom plate, and reflector of the light box are stained with dust or fingerprints, fingerprints, etc., use a clean white soft cloth to dip the dirt with water or a medium containing detergent. It is strictly forbidden to use hard shaving and chemical solvent decontamination to avoid damaging the surface coating of the wall of the light box.
4. If the surface of the light box is damaged or discolored, it should be replaced.
5. If you encounter a fault, please contact the manufacturer in time. Do not replace the accessories yourself to avoid potential safety hazards or damage to the light box.
Precautions
1. Pay attention to the proper power supply and check the power label on the back of the light box before use.
2. Place a minimum distance of 50 cm between each light box or between the light box and the wall. Make sure that the light box is kept at a safe distance from flammable and combustible materials. It should be placed in a cool, well-ventilated area (such as a fan or air-conditioning wind blown to the location).
3. It is recommended that the continuous use time should not exceed 2 hours under the highest illumination conditions.
4. The light box can no longer be used in an environmentally hazardous space.
5. Be careful not to place the light box in a location near wet water and water pipes and fire sprinklers. Keep the surrounding environment dry.
6. Use a clean, lint-free white cloth with water or water containing a small amount of neutral detergent to remove stains from the surface of the light box.Do not wipe with chemical solvents and scratch with hard objects.
7. When performing maintenance on the light box and replacing the light source, turn off the main power.

Send Inquiry to This Supplier


You May Also Like
-
Sine Image YE0188 Transparent SFR Plus Large LVT Film Chart Testing Index MTF/Lateral/Chromatic/Aberration/Distortion/Tonal ResponseNegotiableMOQ: 1 Piece
-
Sine Image ISO 12233 Standard SFR Plus Chart 3:2 Camera Lens Test Chart Customized AvailableNegotiableMOQ: 1 Piece
-
Sine Image Reflective Photographic Paper SFR Plus Chart 223mm x 356mm Customized AvailableNegotiableMOQ: 1 Piece
-
Sine Image YE0219 Automotive Cameras Pre-distortion Test Chart Customized Available Cameras Distorted ChartsNegotiableMOQ: 1 Piece
-
Sine Image SFR Plus Chart Inkjet Resolution Predistortion Chart 10:1 & 2:1 Contrast Ratio Customized AvailableNegotiableMOQ: 1 Piece
-
Sine Image SFR Plus Chart Inkjet Resolution Predistortion Chart 4:1 Contrast Ratio Customized AvailableNegotiableMOQ: 1 Piece
-
Sine Image ISO 12233 Enhanced HD Resolution Chart for Digital Camera Customized AvailableNegotiableMOQ: 1 Piece
-
Sine Image ISO 12233:2014 Standard Camera Lens ESFR (Edge SFR) Test Chart Customized AvailableNegotiableMOQ: 1 Piece
-
Sine Image ISO 12233:2014 Enhanced ESFR (Edge SFR) Test Chart for Camera Lens Customized AvailableNegotiableMOQ: 1 Piece
-
Sine Image ISO 14524 Standard Camera Contrast Chart Customized AvailableNegotiableMOQ: 1 Piece


