

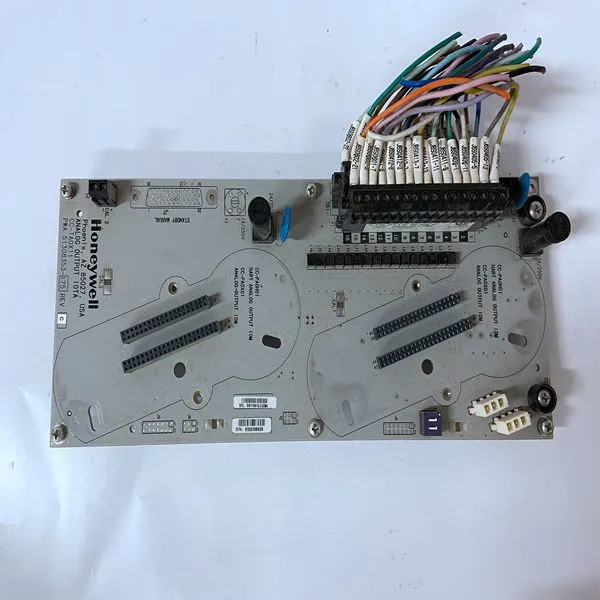
Honeywell CC-TAOX11

Related Products
Brand:Honeywell
Type:CC-TAOX11
Origin:the United States
Warranty: 365 days
Colour: new/used
Shipping method: Courier delivery
Products are widely used in metallurgy, petroleum, glass, aluminum manufacturing, petrochemical industry, coal mine, papermaking, printing, textile printing and dyeing, mechanical, electronic manufacturing, automobile manufacturing, plastic machinery, electric power, water conservancy, water treatment/environmental protection, boiler heating, energy, power transmission and distribution and so on.
Spare parts spare parts, the main DCS control system of PLC system and the robot system spare parts,
Brand advantage: Allen Bradley, BentlyNevada, ABB, Emerson Ovation, Honeywell DCS, Rockwell ICS Triplex, FOXBORO, Schneider PLC, GE Fanuc, Motorola, HIMA, TRICONEX, Prosoft etc. Various kinds of imported industrial parts
Removal of Existing SIM 1. Each serial interface module is retained by two 4-40 x 3 /16 ” Phillips-head screws in opposite corners. Remove the two screws and store them in a safe place for later use. 2. Grasp opposite sides of the SIM and gently lift straight up. Caution Avoid lifting the SIM by one side only, as the connector can be damaged on the SIM or the main board. 3. Place the SIM in a static-safe container for possible reuse.
Installation of New SIM 1. Observe the orientation of the connector keys on SIM connector J1 and MVME162 connector J10. Turn the SIM so that the keys line up and place it gently on connector J10, aligning the mounting holes at the SIM corners with the matching standoffs on the MVME162. 2. Gently press the top of the SIM to seat it on the connector. If the SIM does not seat with gentle pressure, recheck the orientation. If the SIM connector is oriented incorrectly, the mounting holes will not line up with the standoffs. Caution Do not attempt to force the SIM on if it is oriented incorrectly. 3. Place the two 4-40 x 3 /16” Phillips-head screws that you previously removed (or that were supplied with the new SIM) into the two oppositecorner mounting holes. Screw them into the standoffs but do not overtighten them. The signal relationships and signal connections in the various serial configurations available for ports A and B are illustrated in Figures 2-3, 2-4, and 2-5. System Controller Select Header (J1) The MVME162 is factory-configured as a VMEbus system controller (i.e., a jumper is installed across pins 1 and 2 of header J1). Remove the J1 jumper if the MVME162 is not to be the system controller. Note that when the MVME162 is functioning as system controller, the SCON LED is turned on. Note For MVME162s without the optional VMEbus interface (i.e., no VMEchip2), the jumper may be installed or removed without affecting normal operation.
 Synchronous Clock Select Header (J11) for Serial Port 1/Console The MVME162 is shipped from the factory with the SERIAL PORT 1/CONSOLE header configured for asynchronous communications (i.e., jumpers removed). To select synchronous communications for the SERIAL PORT 1/CONSOLE connection, install jumpers across pins 1 and 2 and pins 3 and 4.

Send Inquiry to This Supplier


You May Also Like
-
SC-UCMX01 51307198-175US$ 1035 - 2255MOQ: 1 Piece
-
CC-PAIX02US$ 1041 - 2261MOQ: 1 Piece
-
CC-PAON01US$ 1041 - 2261MOQ: 1 Piece
-
CC-PCNT01US$ 1041 - 2261MOQ: 1 Piece
-
CC-PDIL01US$ 1041 - 2261MOQ: 1 Piece
-
CC-PDOB01US$ 1041 - 2261MOQ: 1 Piece
-
CC-TAID01US$ 1042 - 2262MOQ: 1 Piece
-
CC-TAIM01US$ 1042 - 2262MOQ: 1 Piece
-
CC-TAON01US$ 1042 - 2262MOQ: 1 Piece
-
CC-TCNT01US$ 1042 - 2262MOQ: 1 Piece


