

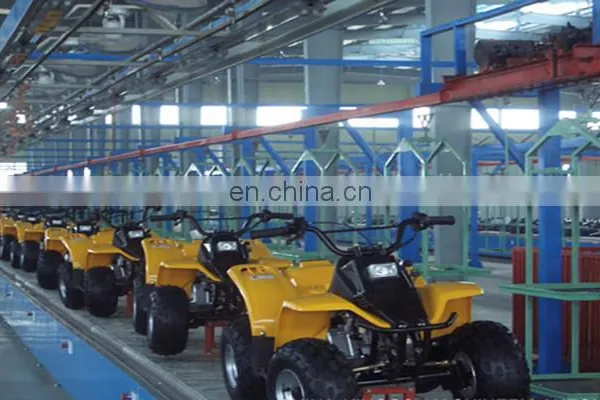
China Good Brand Manufacturer Production All Terrain Vehicle Assembly Line


Related Products
-
 Factory Direct Sale a Variety of Models Auto Car Assembly Belt From China Quality BrandUS$ 30,000 - 30,000MOQ: 1 Set
 -
Good Performance Best Quality Manufacturer Production Various Models Motorcycle Assembly Production Line From ChinaUS$ 19,000 - 19,000MOQ: 1 Set
-
Hot Sale All Kinds of Models Motorcycle Assembly Production Line From China Quality ManufacturerUS$ 19,000 - 19,000MOQ: 1 Set
-
Good Performance Best Quality Two Wheel Motor Cycle Assembly Production Line for Hot SaleUS$ 19,000 - 19,000MOQ: 1 Set
-
Two Wheel Battery Operated Motor Cycle Production Line / Motorbikes Production Line for SaleUS$ 19,000 - 19,000MOQ: 1 Set
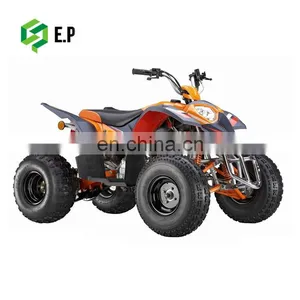
About ATV
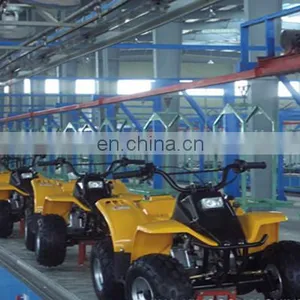
ATV is short for all terrain vehicle, which belongs to the ORV. In EU and US, ATV, UTV, BAJA, Go-kart and off-road two-wheeled motorcycle are all called ORV, Chinese official institutions call it four-wheeled all-terrain vehicle.
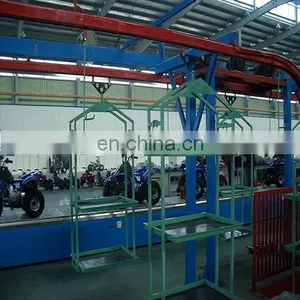
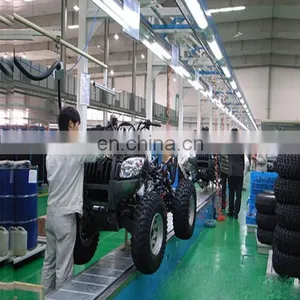
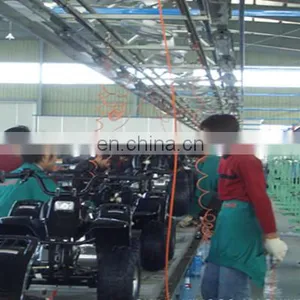
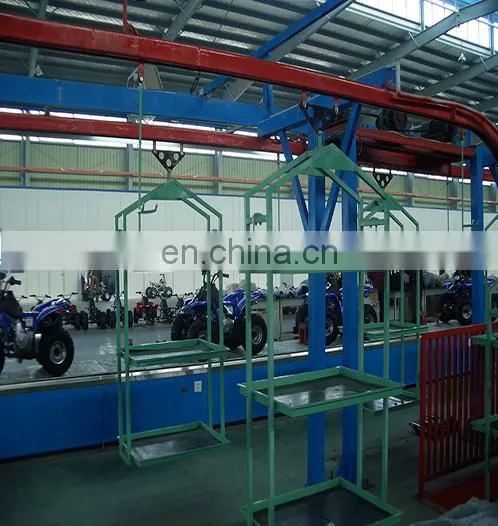
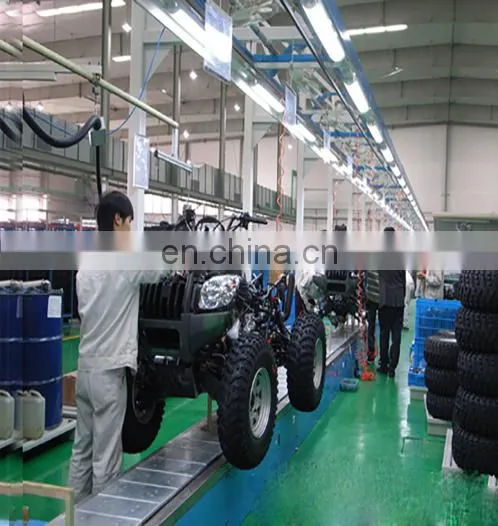
ATV assembly line adopts the chain plate towing workpiece to carry out plane conveying movement, to achieve the purpose of the production process, it is an indispensable assembly equipment for the ATV manufacturers.
In assembly process, the main assembly tools are adjustable wrench, socket wrench, box-end wrench, open-end wrench, drum wrench, Phillips screwdriver, etc. The bolt and nut M6/M8/M10/M12, the open-end wrench 8/10/12/13/14/17/22/24 are commonly used.
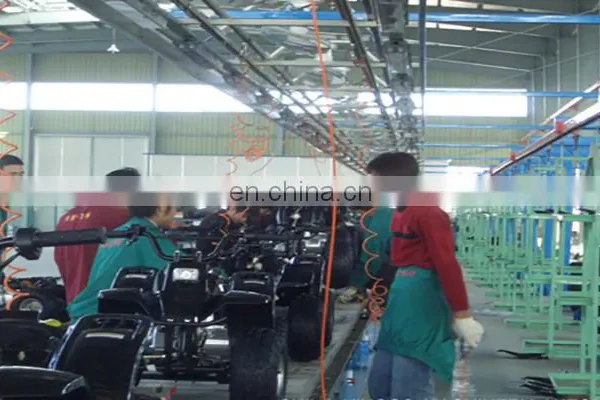
Processing steps of ATV assembly line:
Step 1: Put the frame part on the special support.
Step 2: Install directional string parts
First, grease the directional string parts and insert into the frame. Then fix the middle part of the directional string to the frame by the clamp and bushing, the connection is two pcs M10*60 bolts and self-locking nuts. Then install washer, one pc M12 locknut and split pin to the bottom of direction string for anti-loose mechanical connection. Then install the ball pull rod.
Step 3: Install engine and exhaust
Carefully place the engine in the frame, no collision. Put a sealing ring on the engine part, and then fix the front end of the exhaust pipe to the exhaust valve of engine by a M6 self-pinning nut. Tighten the nuts evenly on the two sides, to facilitate closely connection between engine and exhaust. Then fix to end of the frame by M8*16 bolts and self-pinning nuts.
Step 4: Install shock absorber block and suspension support of engines
First, fix the shock absorber block to the frame by a M10 self-pinning nut, then fix the suspension support to the shock absorber block by two M8 self-pinning nuts.
Step 5: a. Install upper and lower rocking arms, steering knuckles
Fix upper,lower, left and right rocking arms to the frame by four M10*190 bolts and self-pinning nuts. Fix steering knuckles to the support of rocking arms by M10*70 bolts and self-pinning nuts.
b. Install horizontal pull robs
Fix one end of the two pull robs to the directional string parts by slot-shaped nuts and split pin. Fix the other end to the left horn and right horn by slot-shaped nuts and split pin.
Step 6: Install the front shock absorber parts
Pay attention to the upper part of the shock absorber, fix the upper to the frame by M10*40 bolt and self-pinning nuts, fix the lower end to the lower support of front horn by M10*40 bolt and self-pinning nuts.
Step 7: Install the rear shock absorber parts
Pay attention to the upper end of the shock absorber, fix the upper end to the frame by M10*40 bolt and self-pinning nuts, no need to tighten the nuts too tightly, which is convenient for installing the rear axle.
Step 8: Install the rear axle parts
First, assemble the rear axle hole, spacer, bearing and oil seal by pressing machine, assemble two pcs M10*25 and M10*30 flange screw, four M10 nuts, four pcs M10 spring washers to rear axle. Then fix the front end of rear axle to the frame by M12*185 bolts, connect the middle part of rear axle to the lower part of rear shock absorber by M10*40 bolts, then tighten all bolts and nuts.
Step 9: Install sleeve chain
The joint of the sleeve chain is a circlip type. When installing, loosen the circlip first, assemble the chain to the driven chain wheel through the driving chain wheel, then assemble a washer and fix the circlip.
Step 10: Install ignition parts
First, fix the ignition coil to the right side of the frame by M6 locknut, fix the ignition module and starter relay to the left side of the frame, fix emergency flameout switch to the end of the frame by its own plastic nuts, fix the voltage regulator to the left front end of the frame by M6*16 bolts. Then fix the electric cables to the frame.
Step 11: Install electric cables
Connect electric cables to ignition coil, ignition module, emergency flameout switch, voltage regulator, starter relay and wiring terminal of engine tightly.
Step 12: Install rear brake pump parts
Fix brake pump to the rear axle by spacer sleeve, two M8*16 bolts and self-pinning nuts, fix brake oil pipe to frame by plastic belts to prevent collision and friction.
Step 13: Install plastic cover and oil tank cover
First, install plastic cover and connect headlights, brake lights, headlight switch, starter switch, ignition switch. Then fix the plastic cover to frame by eight M6*20 bolts and M6 self-pinning nuts, and fix oil tank cover.
Step 14: Installhub brake, front brake cables, front and rear tires
First, assemble the left hub brake and right hub brake to the left and right sides of the horn, assemble two front brakes to the corresponding positions of the hub brake.
Step 15: Install handle parts
Fix handle to the frame by M8*55 bolts.
Step 16: Install throttle cable
Connect throttle cable to throttle switch.
Step 17: Install brake pump parts
Fix and tighten brake pump to the left side of handle by two bolts, and connect the cable of brake light switch.
Step 18: Install starter combination switch
Assemble starter combination switch by two M6 Phillips screws, cover the left and right handle with leather covers
Step 19: Install battery parts
Put battery into the battery holder, connect the positive electrode of the battery first, and then connect the negative electrode of the battery, tighten finally.
Step 20: Install cushion parts
Insert the two positioning pins on the seat cushion into the beam of frame, push the seat cushion forward.
Step 21: Install front bumper
Fix the bumper to the frame with four M8*20 bolts and two M8 self-pinning nuts

Send Inquiry to This Supplier

You May Also Like
-
Fiber Optic Cable Hauling Machine Changyun 1 for Fiber OpticsUS$ 700 - 750MOQ: 1 Combo
-
Customizable Adjustable Speed Conveyor Belt for Packaging Line Coding Labeling and InspectionUS$ 160 - 300MOQ: 1 Set
-
ConveyorNegotiableMOQ: 2000 Sets
-
Saimo Tilt Switch Model PLR30M-G(SL20) and Controller PLR38(SL28) and PLR39(SL29)NegotiableMOQ: 1 Piece
-
Screw Conveyor Tubular Screw Conveyor Shaftless Screw Conveyor Screw Conveyor for Powder and Granular MaterialUS$ 7000MOQ: 1 Unit
-
Vehicle Mounted Electric Grain Suction Machine for Individual UseUS$ 490 - 1,500MOQ: 1 Set
-
Used for Oilfield Drilling Waste Screw Auger ConveyorNegotiableMOQ: 1 Set
-
Coal Mining Conveyor With ISO BV Certificates And Best PriceUS$ 1,200 - 24,000MOQ: 1 Set
-
24V LiFePO4 Battery for AGV 60Ah, 48V100AhNegotiableMOQ: 1 Piece
-
Reliable Quality v Belt Conveyor With Iron Remover RCYB-8US$ 2,000 - 4,000MOQ: 1 Set


