








 Contact Platform Support
 Help Center
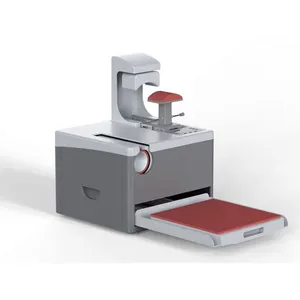
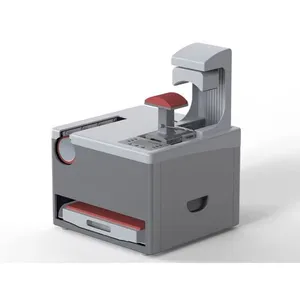
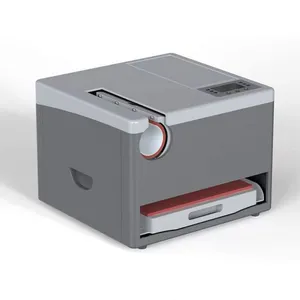
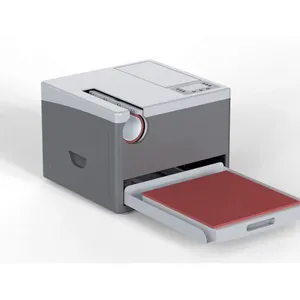
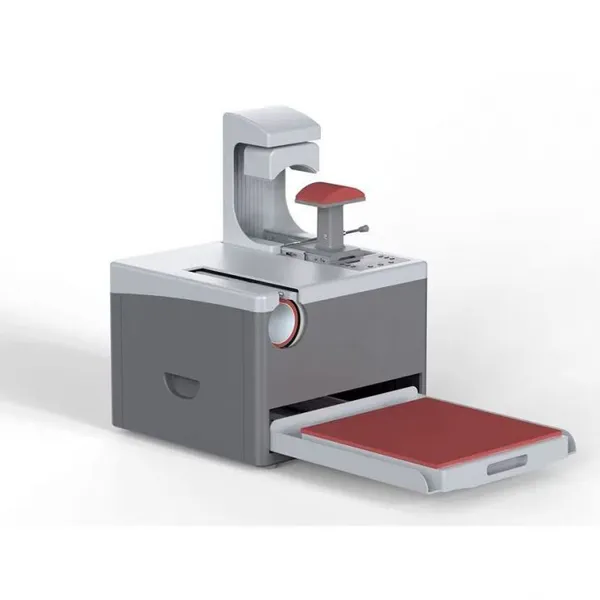
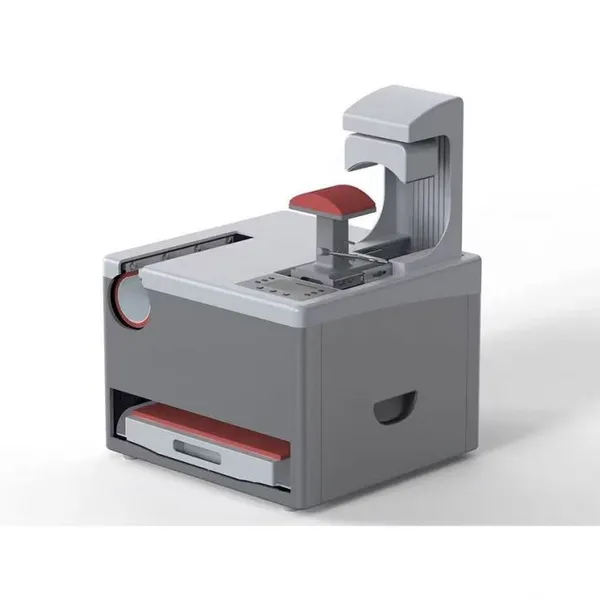
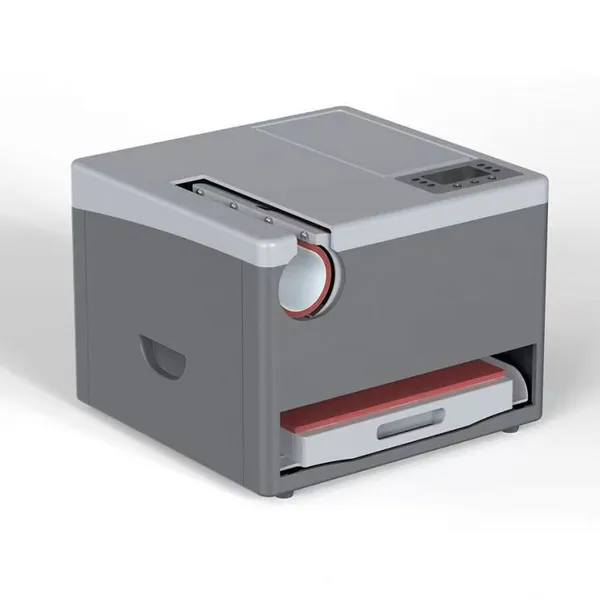
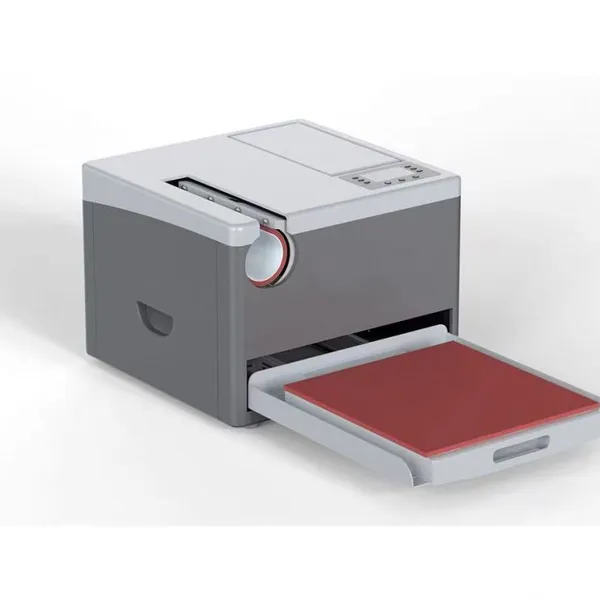
3 in 1 Heat Transfer Press Machine Auto Cap Heat Press Machine Hat Heat Press With 3pcs Replaceable Heating Pads Automatic Release&Press
Product Spotlights
??????? ???? ??????? ?????
???? & ???? ???????????
??????? ??????? ????


Related Products
-
 Blank White Surface Magnet Sheets 24 Inch x 5 Feet 30 Mil Magnetic Roll Printable Flexible Vinyl Blank Magnetic Sign SheetUS$ 30MOQ: 100 Rolls
 -
No Curling PET Grey Back Banner Film (340gsm) Coated for Solvent and HP Latex Inkjet Printing – 914mm x 50m RollUS$ 53MOQ: 50 Rolls
-
UV DTF Transfer Film Roll A & B High-Adhesion Clear Print Quality for DIY and Professional Sticker Making Work With All UV PrinterUS$ 31MOQ: 10 Rolls
-
DTF Transfer Film Roll for Double-Side Matte Clear Pretreat Sheets PET Heat Transfer Paper for Inkjet Printer Direct Print on T Shirts TextileUS$ 12.9MOQ: 50 Rolls
-
Custom Table Cloth Cover With Business Logo Text Stretch Personalized Tablecloth SpandexCustomize With Logo for Birthday PartyUS$ 20MOQ: 10 Pieces
Multi functional Auto Heat press machine user manual
A、 Product related parameters:
Name: All in One Auto Heat Press machine
Combo Auto Heat Press machine
Multi functional Auto Heat press machine
Packaging size: 573x550x424mm
Weight: 26KG
Maximum total power: 1700W
Voltage: 110V/220V
Heat press size: 380x380mm
Cap heat press size: unfolded area 80x140mm, radius 87mm
Mug and Plate heat press size:
1. Standard configuration 220x270mm (30oz), suitable for cups with a diameter of 70-85mm and a height of 270mm (9-30oz), other specifications can be added,
2. Additional configuration: On the basis of the standard configuration, 12oz and 17oz Mug heat press and ∅ 120 and ∅ 150mm Plate heat press.
B、product image
C、Machine dimension diagram
D、Controller display status
E、Setting methods and functions
1. Power on: After plugging in the power plug and turning on the main power switch (both located at the back of the machine), the screen lights up but there is no display.
2. Power on: When hot stamping clothing, press and hold the first OFF/ON button on the left for 2 seconds. The current real-time temperature will be displayed on the left side of the screen and will rise towards the last set temperature, while the last set time will be displayed on the right side. Similarly, if you need to use hot stamping hats or cups separately or simultaneously, press and hold the second OFF/ON button on the left middle row and the third OFF/ON button on the bottom row for 2 seconds. The current real-time temperature will be displayed on the left side of the middle and bottom rows of the screen and will rise towards the last set temperature, while the last set time will be displayed on the right side.
3. Set temperature and time: When you need to set or change the hot stamping temperature and time, click the corresponding button on the left to reset which group of temperature and time is needed. For example, when you need to change the temperature and time of the hot stamping clothes, just click the first button in the upper left row. At this time, the temperature display on the left side of the upper row screen will flash. Use the ▲▼ arrows to adjust the temperature value. After adjusting it, press the SET button to confirm, and the time displayed on the right will start flashing. Use the ▲▼ arrows to adjust the time and press the SET button to confirm. When changing the temperature and time for hot stamping hats and cups, the method is the same as above.
4. Celsius Fahrenheit conversion: Hold down the ▲▼ arrows for 2 seconds at the same time, and the last set ℃ or Fahrenheit ℉ on the screen will flash. At this time, use ▲▼ to switch to ℃ or ℉. After switching, press the SET key to confirm. Note that the Celsius Fahrenheit unit selection is for all three sets of hot stamping functions, and cannot use one temperature unit for a single hot stamping function. That is, regardless of whether it is switched to ℃ or ℉, all subsequent functions will default to using ℃ or ℉.
5. Pressure adjustment: Press and hold the SET button for 2 seconds, and P11, P21, and P31 will be displayed in the upper, middle, and lower rows of the screen. Then, use the three motor start buttons on the right to adjust these three parameters. The larger the value, the greater the pressure output of the motor. For example, the clothing pressure adjustment range can be selected from four pressure levels: P11, P12, P13, and P14. The same applies to the other two. After adjusting with the start button, press and hold the SET button for 2 seconds to exit.
6. After the various hot stamping parts of the machine reach the set temperature, if there are no button operations for this group on any display screen within half an hour, the display for this group will automatically shut down. When needed, press and hold the corresponding OFF/ON button on the left for 2 seconds and then turn it back on again.
F、Operation Instructions:
1. When hot stamping clothes, remove the ironing table, place the clothes and pictures, push the ironing table into the machine, press the start button on the upper right row, and the heating plate will start to automatically press down, synchronously counting down. When the time is up, the heating plate will rise and remove the clothes from the workbench.
2. When hot stamping hats, stand up the hat dryer, remove the hat ironing table, place the hat and pictures, then push the ironing table and hat under the heating plate, press the middle start button on the right, press the heating plate down, and synchronize the countdown. When the time is up, the heating plate rises, remove the workbench, and take out the hat.
3. When hot stamping cups, wrap the cup with the picture wrapped around it (regardless of the length of the cup, it should be placed in the middle of the baking cup pad. In addition, this baking cup machine has an automatic adjustment function based on the cone angle of the cup, which can hot stamp conical cups with a cone angle less than 10 degrees, and can also replace baking cup pads of different specifications to adapt to more sizes of cups). Press the start button in the lower right row, and the baking cup machine will start to close and synchronize the countdown. When the time is up, it will automatically open, take out the cup, and tear off the picture.
4、 If a certain function is not needed, simply press and hold the corresponding left OFF/ON button for 2 seconds, and the screen will turn off.

Send Inquiry to This Supplier


You May Also Like
-
New Design Foldable Folding Advertising Fabric LED Exhibition Double Side Sign Display Tradeshow DisplaysUS$ 106MOQ: 50 Pieces
-
Robot Lawn Mower Wire-Free Mapping With LiDAR Navigation AI Obstacle Avoidance Smart Edge Mowing Robotic App Control for LawnsUS$ 599MOQ: 100 Pieces
-
Customized Logo Print Quick Drying Ice Cold Cool Feeling Sweat Instant Microfiber Outdoor Travel Gym Sport Endure Cooling TowelUS$ 0.39MOQ: 500 Pieces
-
Ready Ship Solid Color Instant Super Cold Feeling Ice Cooling Towel With Portable PVC BagUS$ 0.39MOQ: 500 Pieces
-
Custom Logo Microfiber Cooling Towel Wholesale Ice Yoga Sport Towel Instant Coo Golf GYM Towel With Custom PackageUS$ 0.39MOQ: 500 Pieces
-
Customized LogoCooling Towel Ice Towel Soft Breathable Chilly Towel Stay Cool for Yoga Sport Gym Workout CampingUS$ 0.39MOQ: 500 Pieces
-
Summer Ice Cooling Towel Quick-Drying Neck Cooling Wraps Soft Breathable Chilly Sports Towel for Yoga, Running, Workout,FitnessUS$ 0.39MOQ: 500 Pieces
-
Cold Towel, Cooling Towel, Fitness, Sweating and Quick-drying Ice Towel Custom LogoUS$ 0.39MOQ: 500 Pieces
-
Customized Logo Polyester Quick-Dry Cooling Towels Neck Soft Breathable Golf Towel Gym Workout Travel SportsUS$ 0.39MOQ: 500 Pieces
-
Custom Printed Nobori Flag Banner With Pole Stand for Racing Car Events Indoor OutdoorUS$ 2MOQ: 100 Pieces


