








 Contact Platform Support
 Help Center
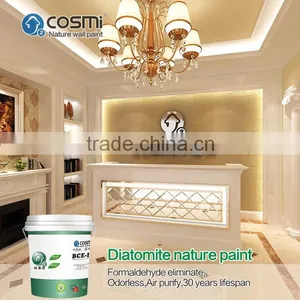
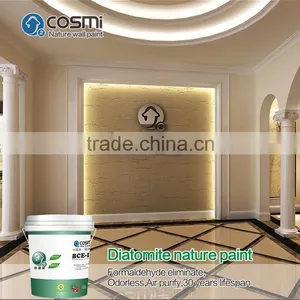
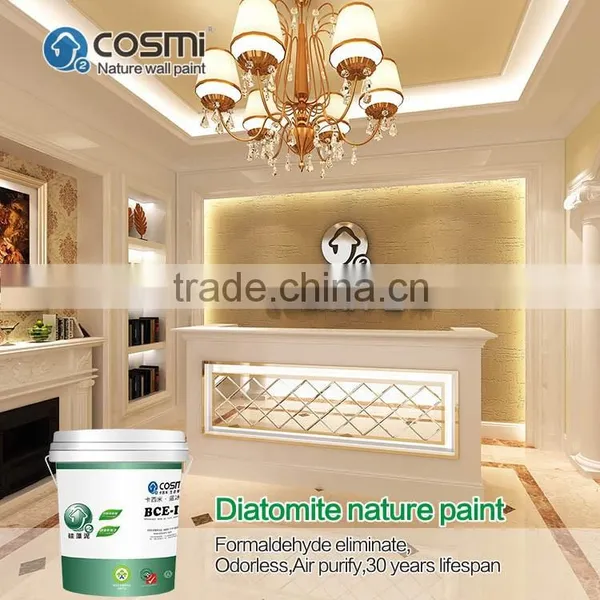
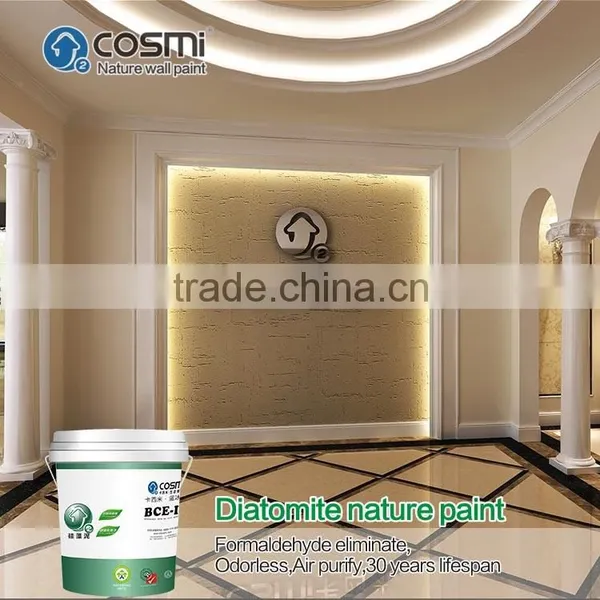
Texturize Wall Material,wall Art Paint


Related Products
-
 3D Wallpapers Make of Diatomaceous MudUS$ 3 - 6MOQ: 50 Barrels
 -
4 Hours Occupancy Eco-friendly Wall Paint,Alternative to Emulsion PaintUS$ 3 - 6MOQ: 100 Kilograms
-
Diamond Interior Wall Texture Decoratives,100% Eco-friendlyUS$ 3 - 6MOQ: 500 Kilograms
-
Food Grade Spray Paint for Wall Texture,please Imagine How Healthy it isUS$ 3 - 6MOQ: 500 Kilograms
-
HOT!!!Diatomaceous Mud Wall Texture Paint,wall Art DesighUS$ 3 - 6MOQ: 500 Kilograms
|
Product name
|
Diatomite paint for wall texture |
Main Ingredients |
Pure nature diatomaceous earth, |
|
Status
|
Liquid,can use instant when open the cover |
|
Weight
|
15kgs,or 18 kgs per barrel |
|
Hazardous materials
|
Complete no,non-formaldehyde,non VOC |
|
Eco-friendly
|
Yes |
|
Key feature
|
Decompose of formaldehyde,Release negative anion,humidify adjusting,mildew resistant,air purify |
|
Color
|
Thousands color(more than 1026 colors for options),pure color,Bicolors, |
|
Wall effect can make |
1.pure color, 2.Wall texture 3.Wall patterns 4.Wall printing & stickers |
|
Functions
|
1.The Main Ingredient is pure nature diatomaceous earth,eco-friendly |
What is the advantage of diatomite wall?
The Deco Diatomite Wall is able to absorb and decompose hazardous materials such as formaldehyde and toluene in the air completely and effectively, which makes you live a really healthy and free life.
INSTRUCTIONS:
Preparation
1.Choose the type of texture you would like, from a thick or heavy texture to a thin set that is smooth and anything in between.
2.Measure the dimensions of the wall you want to texture and round up. First-timers especially tend to underestimate and then must buy more supplies in the middle of the project.
3.Purchase the correct amount of joint compound, a trowel that fits in your hand comfortably, a bucket to put the joint compound in (this must fit the trowel head) and a water-based primer.
4.Lay plastic sheets on the floor and tape edges of the ceiling and baseboards. Take your time on taping because this will save time in the edging process.
5.Clean off walls so that they are free of dust and dirt. The joint compound will cover hairline cracks fine, but you must fix larger, deeper cracks with mesh tape that you can then texture over.
Getting Started
1.Roll the primer on the walls and let dry completely. Do not start texturing before the primer is dry.
2.Practice texturing on a piece of cardboard while the primer is drying. If you don't like a look, scrape the trowel over the compound to remove it and reapply. This removal technique works on walls, too. The more you practice your stroke, the easier it will be to get a uniform texture on the walls.
3.Transfer the joint compound into the bucket. Dip the trowel edge into the joint compound and apply it on the wall with a firm grip on the trowel.
4.Use fanning motions to spread the compound. The more pressure you apply, the thinner the texture will be. Use the same amount of pressure and the same fanning motions everywhere on the wall to achieve a uniform look.
5.Allow to dry per the instructions. The texture should be chalky when dry; be sure of this before you paint.
Tips & Warnings
Don't apply texture too thickly in heavy-traffic areas. The texture can break off and leave horrible-looking walls

Send Inquiry to This Supplier

You May Also Like
-
Anti-static Self-leveling Epoxy Floor CoatingNegotiableMOQ: 1
-
Building CoatingNegotiableMOQ: 2700 Kilograms
-
Stainless Steel PVC Plastisol Mixer With Dual-Shaft Agitator & Temperature ControlNegotiableMOQ: 10 Sets
-
Titanium Dioxide Rutile Type 93% Used for Paint STD001 Shijiazhuang Standard ChemicalsUS$ 100 - 2000MOQ: 1 Ton
-
Aliphatic Polyurethane Paint for BuildingUS$ 1.8 - 8MOQ: 1000 Kilograms
-
Rotary Water Spray RoomNegotiableMOQ: 1 Set
-
EASY PAINTNegotiableMOQ: 2000 Pieces
-
Rubber Paint on SaleUS$ 1.45 - 35.21MOQ: 100 Pieces
-
Powder Coating EquipmentUS$ 75,000 - 950,000MOQ: 1 Set
-
Glass Car Body Coating From JapanUS$ 150,000 - 150,000MOQ: 1 Carton

